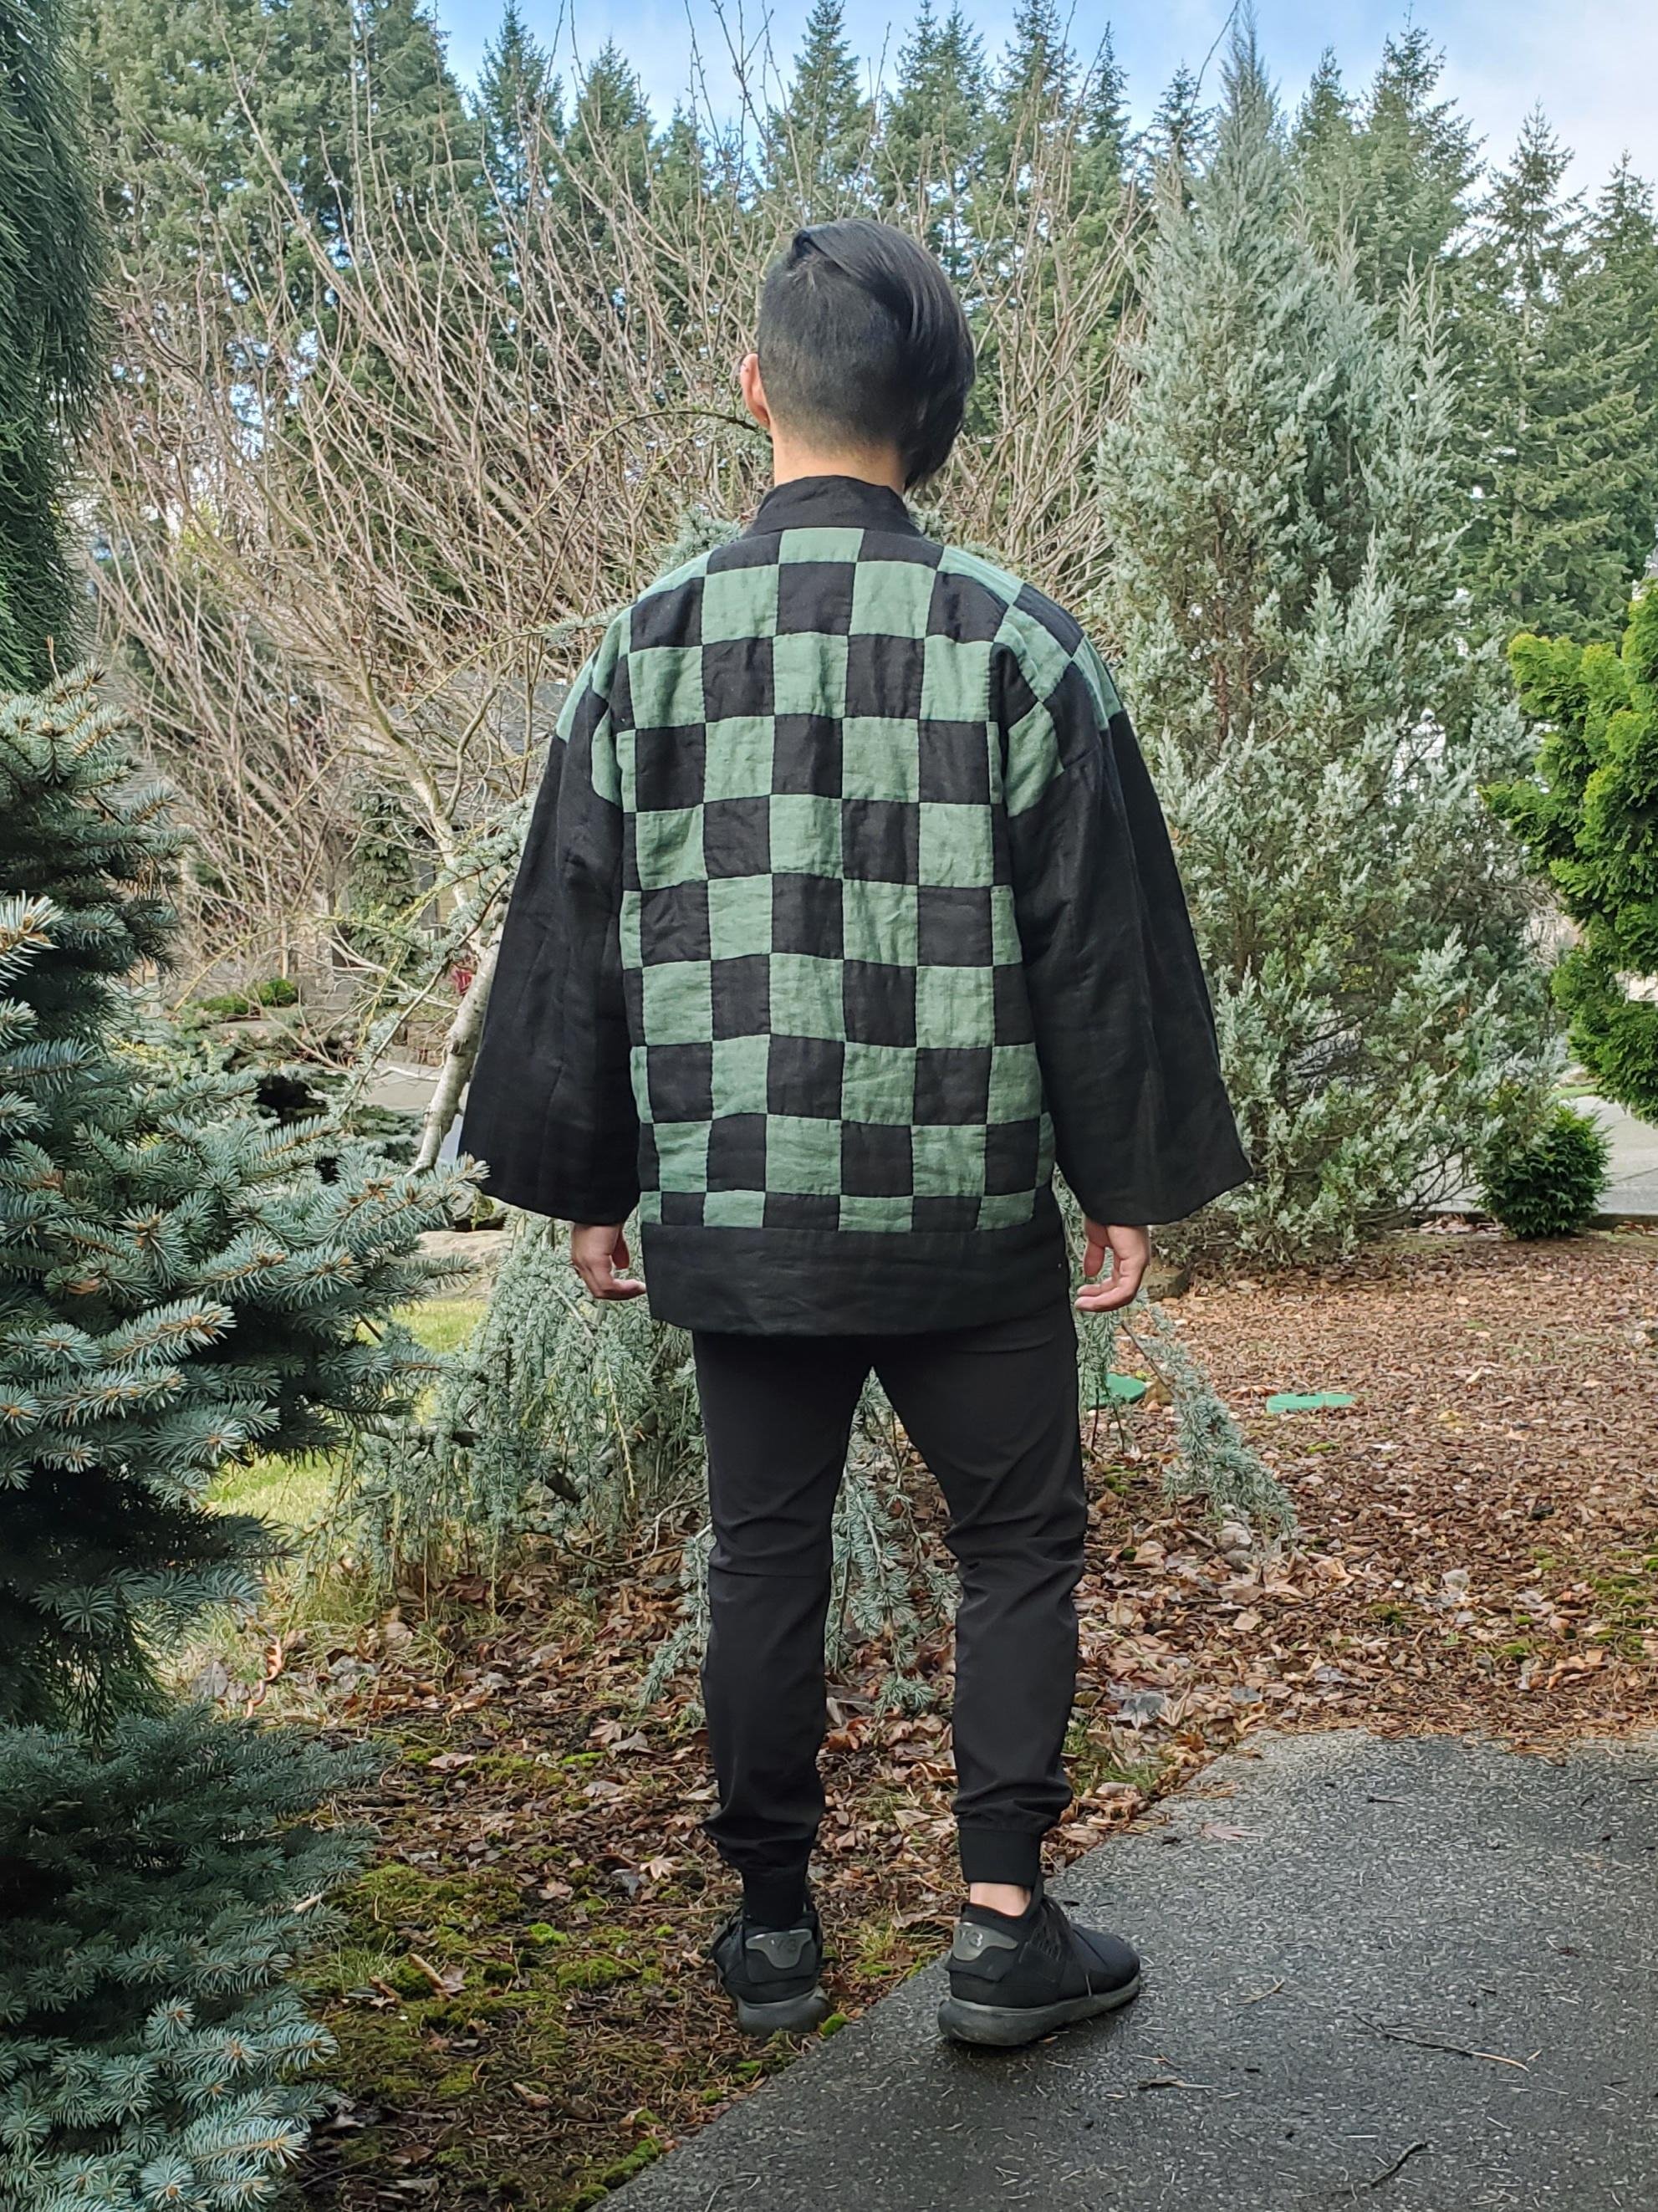
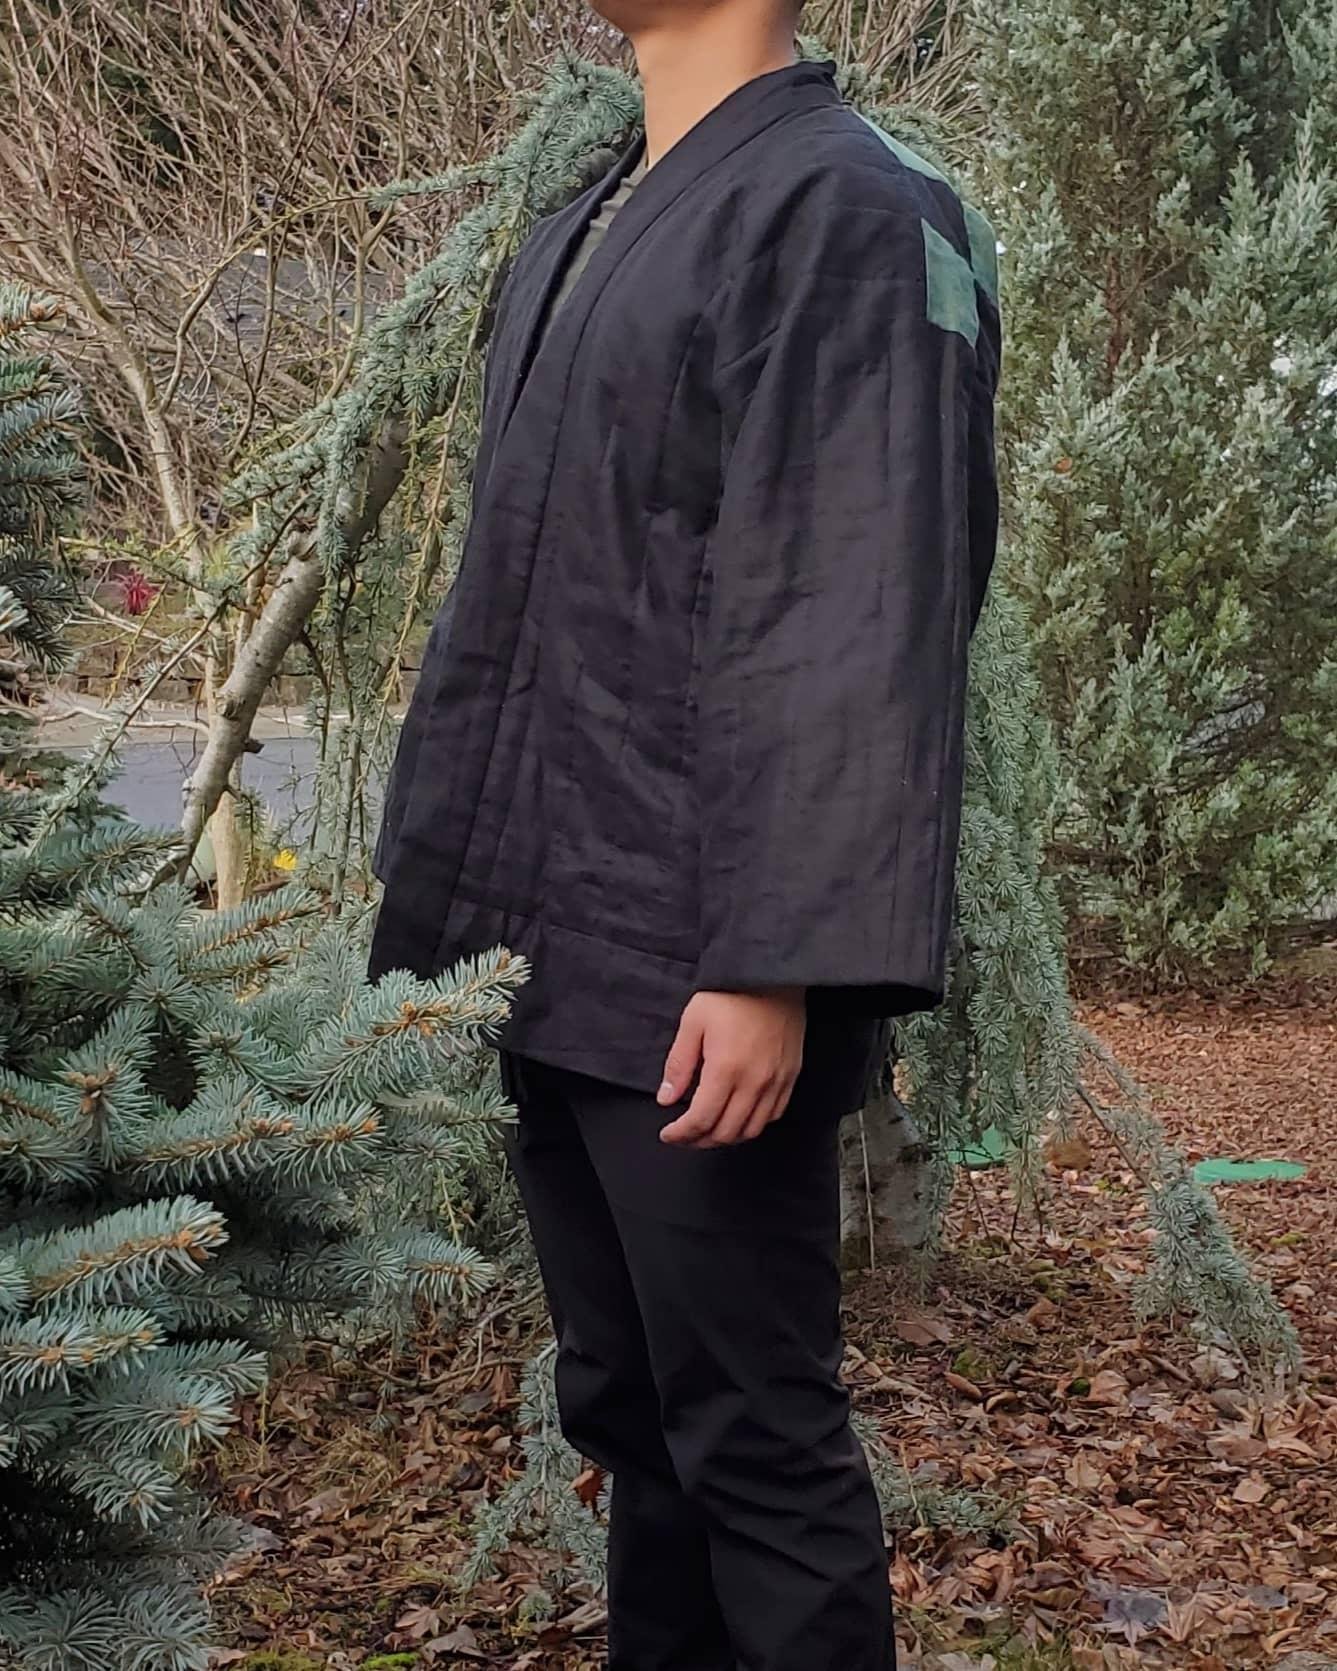
Demon Slayer Tanjiro Hanten
Did you know kimono directly translates to “something worn”? It’s a catch-all for any garment in a traditional Japanese style. One type of kimono, the hanten, is a quilted padded jacket that’s often worn as a housecoat.
I wanted to try sewing one, both for educational purposes and because I needed a Christmas present for my brother.
Illustration of a basic hanten
Since I wasn’t too concerned with “historical accuracy”, I very generally based the drafting and construction process on this translation of a nani IRO pattern and this promotional documentary by UNAGINO-NEDOKO.
Some kimono styles have the shoulders slightly extended with the front and back cut in one piece for either side. But from what I could tell, this is not the case for hanten. I ended up cutting everything as either a rectangle or trapezoid.
After making up a quick mockup in cheap muslin, I proceeded to cut all the pieces shown above out of my fashion fabric (medium weight linen from Grey Line Linen in NYC). My method for piecing the two colors into a checkerboard pattern was first build up a block of stripes and then to cut these crosswise into strips that would be offset to create the pattern.
As you might imagine, this process was quite tedious, especially when being mindful of matching corners. And since I’ve never quilted before and was running against a deadline, the upper limit of my patience was only enough to create checkerboard fabric for the back panel.
Here you can see a bit of basting holding the various layers of outer shell + batting + lining together. It ended up shifting around a bit, so I would definitely recommend more basting threads.
The back panel was quilted together by hand because I couldn’t trust my sewing machine skills to reliably stitch in the gutter. All other pieces were quilted with a basic straight stitch. If you’re wanting to replicate this process or do something similar…use a walking foot.
I couldn’t find much information about how this type of coat historically came together. The way I did it is absolutely not correct and the weight of all the layers puts a lot of strain on the outer seams. Basically, I machined the outer layers (black) together, trimmed any excess batting (white) away so everything lay smooth, and felled the linings (aqua) down by hand, trying to catch some of the batting for more security. Some of the outer seams had only 1/4" allowance due to a cutting error and I'm a
Some more quilting was added by hand to the band that wraps around the bottom. I didn’t want the stitching to show in the outer layer, so I made sure to only catch the lining and batting. The same was later done to the collar/lapel area as well.
With construction done, all that was left was finishing seams and attaching ties. The coat is inside out in the image above. If you're wondering what's up with the green and stripy bits, I ran out of black linen and pieced together a bunch of scraps for the lining. In theory, the seam finishes make the inside look as nice as the outside, so one could wear it reversed. It's pretty ugly imo, but one COULD.
And we're done! For a last-minute Christmas gift, I put way too much effort in. Everyone in my house was telling me that the giftee is definitely not worth it and I agree! I made this over 2 weeks after work and on the weekends. Probably spent 35-40 hours total.
One of the best lessons I learned through this whole process was how much I hate quilting. After finishing this at the end of 2020, I vowed never to commit myself to a similar project ever again. One year later and I’ve started another…


