

Skip & Loafer Mitsumi Illustration Process

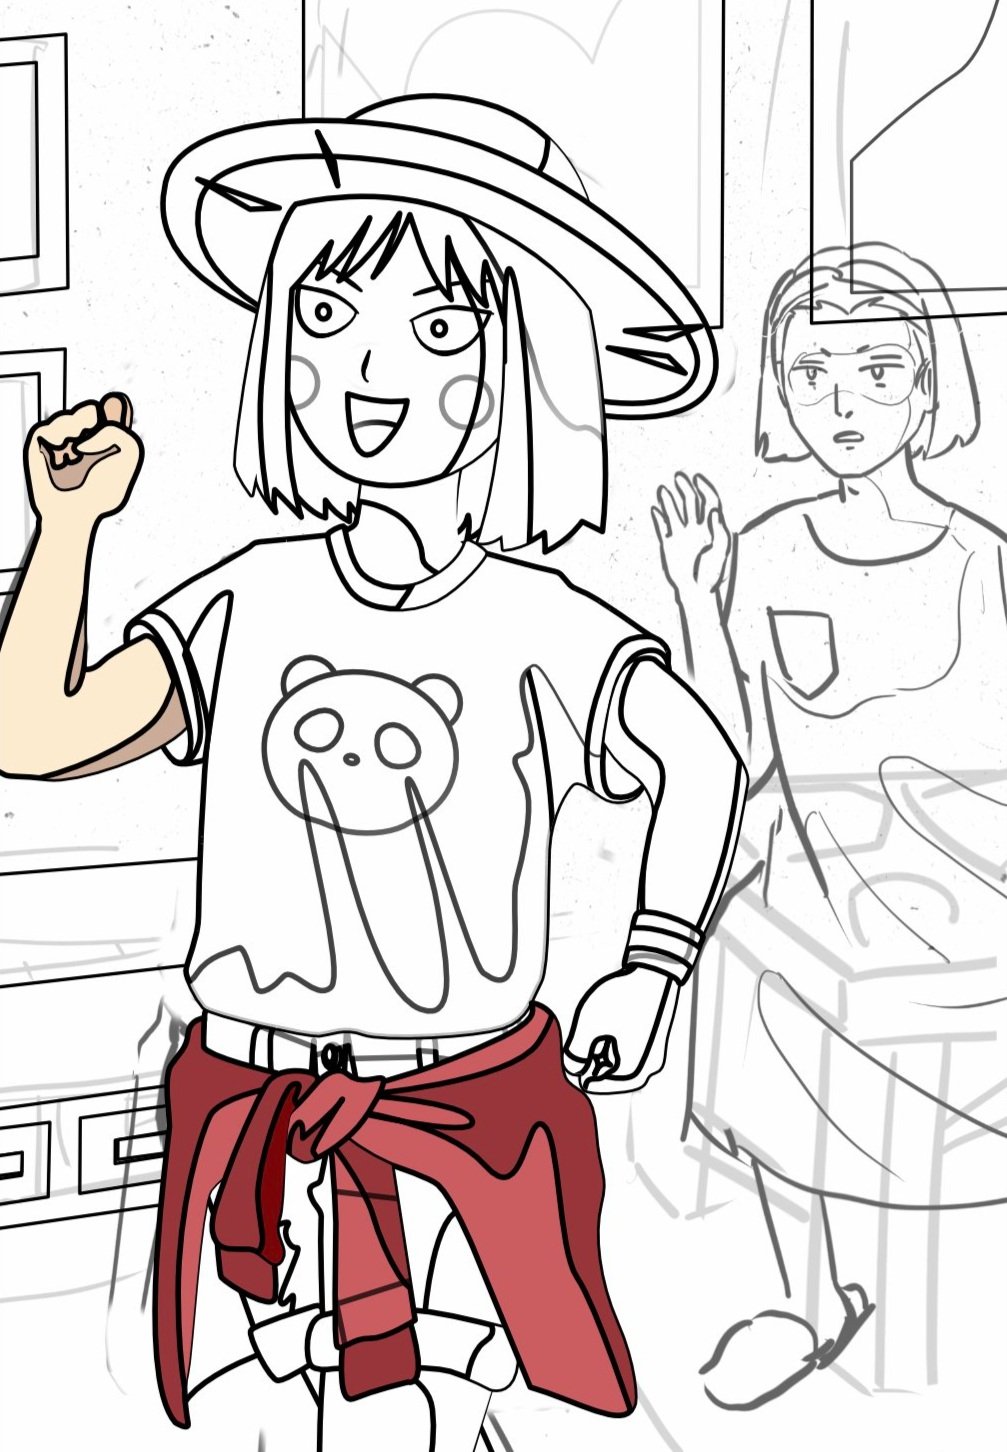


The wonderful mod team behind the Skip and Loafer Discord server organized a few events recently to keep readers engaged during a 2-month break between chapters and to celebrate anime news and another completed volume. Among these was an art contest — the mission: redraw your favorite scene from the manga to compete for nitro. Right away I knew I wanted to draw this scene from chapter 14 just before Mitsumi is going on her not-date with Shima. The gap in their expressions do such a great job of storytelling.
Sketch
Above you can watch a timelapse of the sketch drawn in Procreate. I find it easier to draw an entire body first to establish a pose before sizing it to fit in my intended composition. I struggle with figure drawing and poses, so this helps me to visualize how the weight of a character is balanced, even when part of it is not shown in frame. With Nao, you can see me trying to figure out how to position her before drawing a simplied version with a full body and moving it into place.
My objective when sketching is to signal the general composition and landmarks instead of creating an attractive drawing that can stand on its own. Unless I plan to turn a sketch into lineart, it will stay pretty rough and details are subject to change as I progress through the coloring stage. Since I knew I would finish this particular illustration in Affinity Designer (a vector drawing program by Serif akin to Adobe Illustrator), I focused on creating strong shapes that are easy to read. Sometimes I’ll also start mapping out where different colors and value changes will go, as on Mitsumi’s arms and shirt. Because the final illustration won’t have any lines or complex shading, it’s important to be aware of where different planes exist on a form.
Create Vector Shapes


Once I have the sketch ready, I switch over to Affinity Designer to work with vector shapes. Doing this allows me to scale an illustration in the future without losing clarity and to easily modify shapes and colors as I go. The sketch is more of a suggestion than instruction, so having this flexibility saves me a lot of time and grief when I inevitably change my mind about things.
The first step here is to use the pen tool to create a basic outline and organize each layer in the right order. From there I can start carving out the shapes that give the form dimensionality: clothing wrinkles, shadows, highlights, etc. At the same time, I start adding color and removing lines. Faces are the only area where I’ll concede to using lines since the features there are harder to express. When lines are necessary, I make sure to use tapered ends or special brushes so they don’t feel so out of place.
Color and Shade

The first pass of color picking is used to sort out value/hue changes and rarely makes its way to the finished drawing. Using flat colors to fill everything in can lead to spots where abutting shapes are indistinguishable. When that happens, I’ll throw in some gradients. These also help to soften areas that might be too harsh with a flat color. The shadows on Mitsumi’s shirt, for instance, are all the same color, but with the use of gradients, I can make two shadows stand out against each other and ease into the lighter main shirt color.
Fiddling with colors will often take me just as much time as drawing every shape in the previous step. However, since each of these shapes are recorded on different layers, it’s possible to change one without changing the others. For instance, if the skin color looks too pink, I can easily adjust that without affecting the hue of the shadows.
Final Effects


The final step, which is sort of optional, is to add layer effects and textures. I find that creating a gentle warm gradient layer over the whole piece and setting it to a special lighting or layer effect helps to tie it together and feel more vibrant. Compare the fully colored image above to the finished illustration to see this effect side by side.
In areas that feel flat or blank, I’ll often throw in a grain texture as well, and mask it to fit in just that spot. This particular one comes from the Octopus Brush Pack by Frankentoon. I use only the black-on-white image meant for Multiply because I like how evenly the speckles are dispersed. I created an inverted white-on-black version to use for colored speckles and Screen. The speckles on their own are a bit weak so I’ll often use two or three layers of it.
That’s all! I’m sure as I develop this style further and improve as an artist, this process will change as well. For now, I hope this explanation was helpful or interesting. Now go read Skip and Loafer!